Hexo博客搭建
网络上参考资料很多这里略过
Github Actions部署 Hexo博客
建立私有化仓库
私有化仓库来存放自己的博客,New->Repository Name->private->create repository
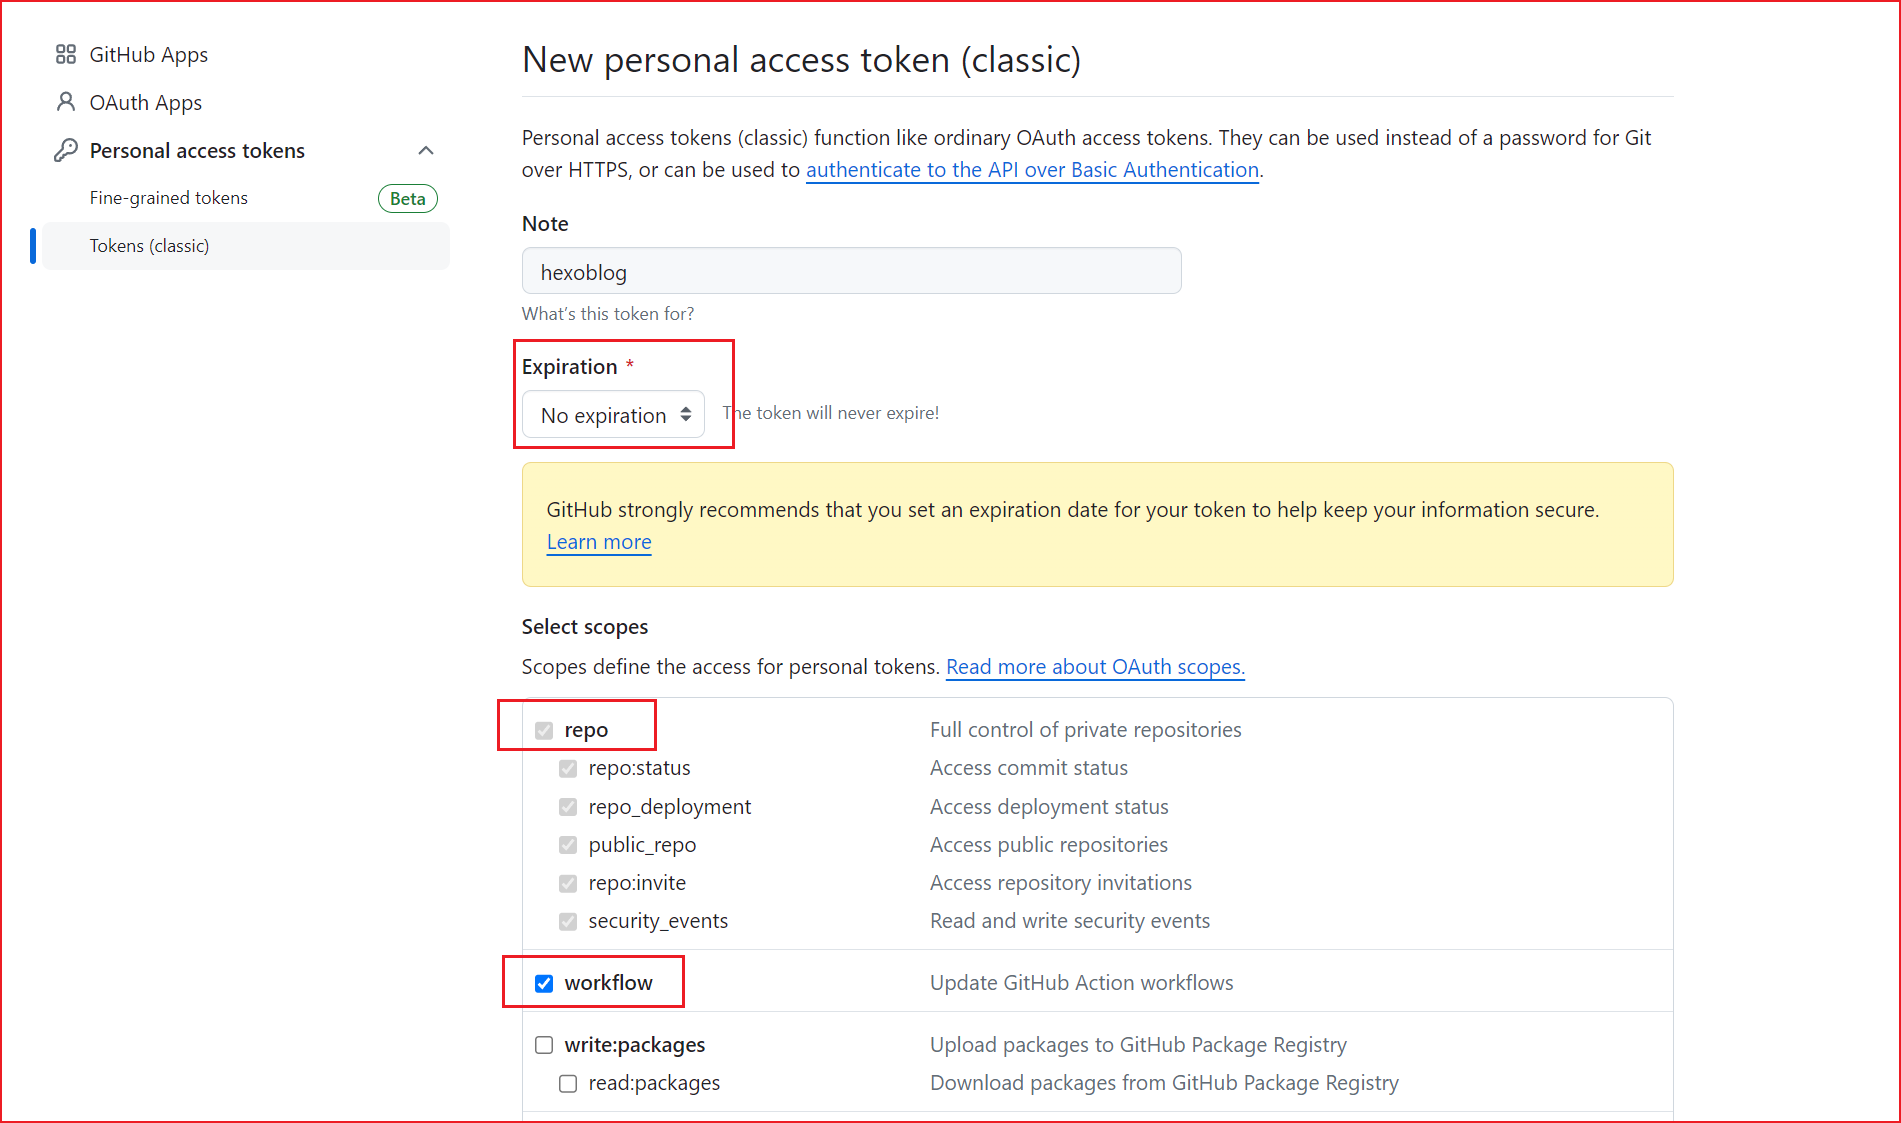
创建Github Token
创建token->Generate new token->Generate new token(classic)->具体配置看下图->记住生成的token
设置workflow
在本地blog根目录下创建*.github\workflows\hexo-deploy.yml*文件,具体代码如下
1
2
3
4
5
6
7
8
9
10
11
12
13
14
15
16
17
18
19
20
21
22
23
24
25
26
27
28
29
30
31
32
33
34
35
36
37
38
39
40
41
42
43
44
45
46
47
48
49
50
51
52
53
54
55
| name: 自动部署
on:
push:
branches:
- master
release:
types:
- published
jobs:
deploy:
runs-on: ubuntu-latest
steps:
- name: 检查分支
uses: actions/checkout@v3
with:
ref: master
- name: 安装 Node
uses: actions/setup-node@v3
with:
node-version: "20.x"
- name: 安装 Hexo 和 theme主题
run: |
export TZ='Asia/Shanghai'
npm install hexo-cli -g
- name: 缓存 Hexo
uses: actions/cache@v3
id: cache
with:
path: node_modules
key: ${{runner.OS}}-${{hashFiles('**/package-lock.json')}}
- name: 安装依赖
if: steps.cache.outputs.cache-hit != 'true'
run: |
npm install --save
- name: 生成静态文件
run: |
hexo clean
hexo generate
- name: 部署
run: |
cd ./public
git init
git config --global user.name '${{ secrets.GITHUBUSERNAME }}'
git config --global user.email '${{ secrets.GITHUBEMAIL }}'
git add .
git commit -m "${{ github.event.head_commit.message }} $(date +"%Z %Y-%m-%d %A %H:%M:%S") Updated By Github Actions"
git push --force --quiet "https://${{ secrets.GITHUBUSERNAME }}:${{ secrets.GITHUBTOKEN }}@github.com/${{ secrets.GITHUBUSERNAME }}/${{ secrets.GITHUBUSERNAME }}.github.io.git" master:master # GitHub配置
|
上传代码到私有仓库
1
2
3
4
| git checkout master
git add .
git commit -m 'your message'
git push origin master
|
最后,查看私有仓库中的Action运行情况,运行完成之后将内容推送到github.io的master分支中
个性化配置
文章目录
在_config.icarus.yml中添加挂件配置
1
2
3
4
5
6
| widgets:
-
type: toc
position: left
index: true
|
在需要开启目录的文章头部加入toc: true
1
2
3
4
| title: 一篇有目录的文章
toc: true
---
文章内容...
|
进一步,在hexo模板中修改文章的模板scaffolds/post.md,这样每次hexo new ***就会根据模板创建
1
2
3
4
5
6
7
8
| ---
title: {{ title }}
date: {{ date }}
tags:
excerpt: 文章摘要
toc: true #目录
---
|
修改布局宽度
页面宽度
编辑<icarus_directory>/include/style/responsive.styl
1
2
3
4
5
6
7
8
9
| +widescreen()
.is-1-column .container, .is-2-column .container
max-width: $desktop - 0 * $gap
width: $desktop - 0 * $gap
+fullhd()
.is-2-column .container
max-width: $widescreen - 0 * $gap
width: $widescreen - 0 * $gap
|
挂件或主内容宽度
参考常见问题
自定义字体
默认的CDN服务提供商配置:
1
2
3
4
| providers:
cdn: jsdelivr
fontcdn: google
iconcdn: fontawesome
|
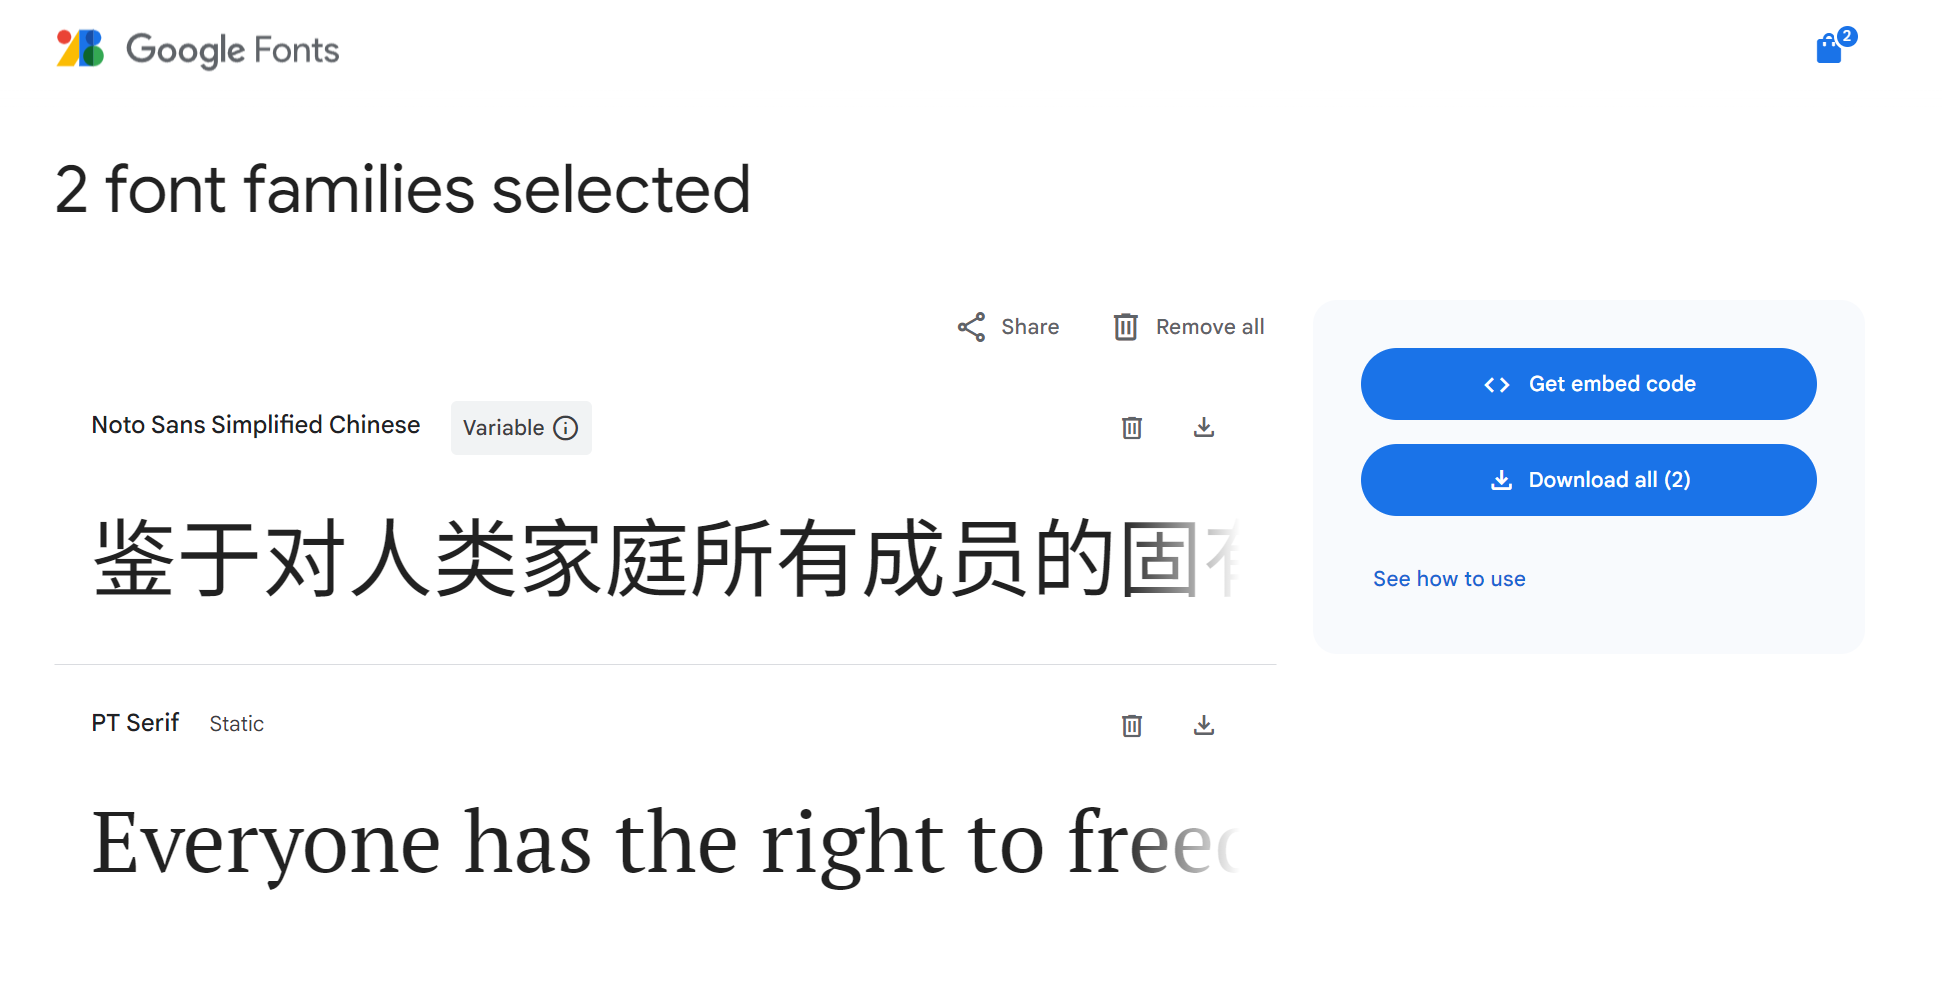
在修改字体时,我选择直接到Google Fonts中查找。
如我想使用Noto Sans Simplified Chinese和PT Serif字体,在Google Font添加选中两种字体,点击get embaded code后根据html代码修改即可
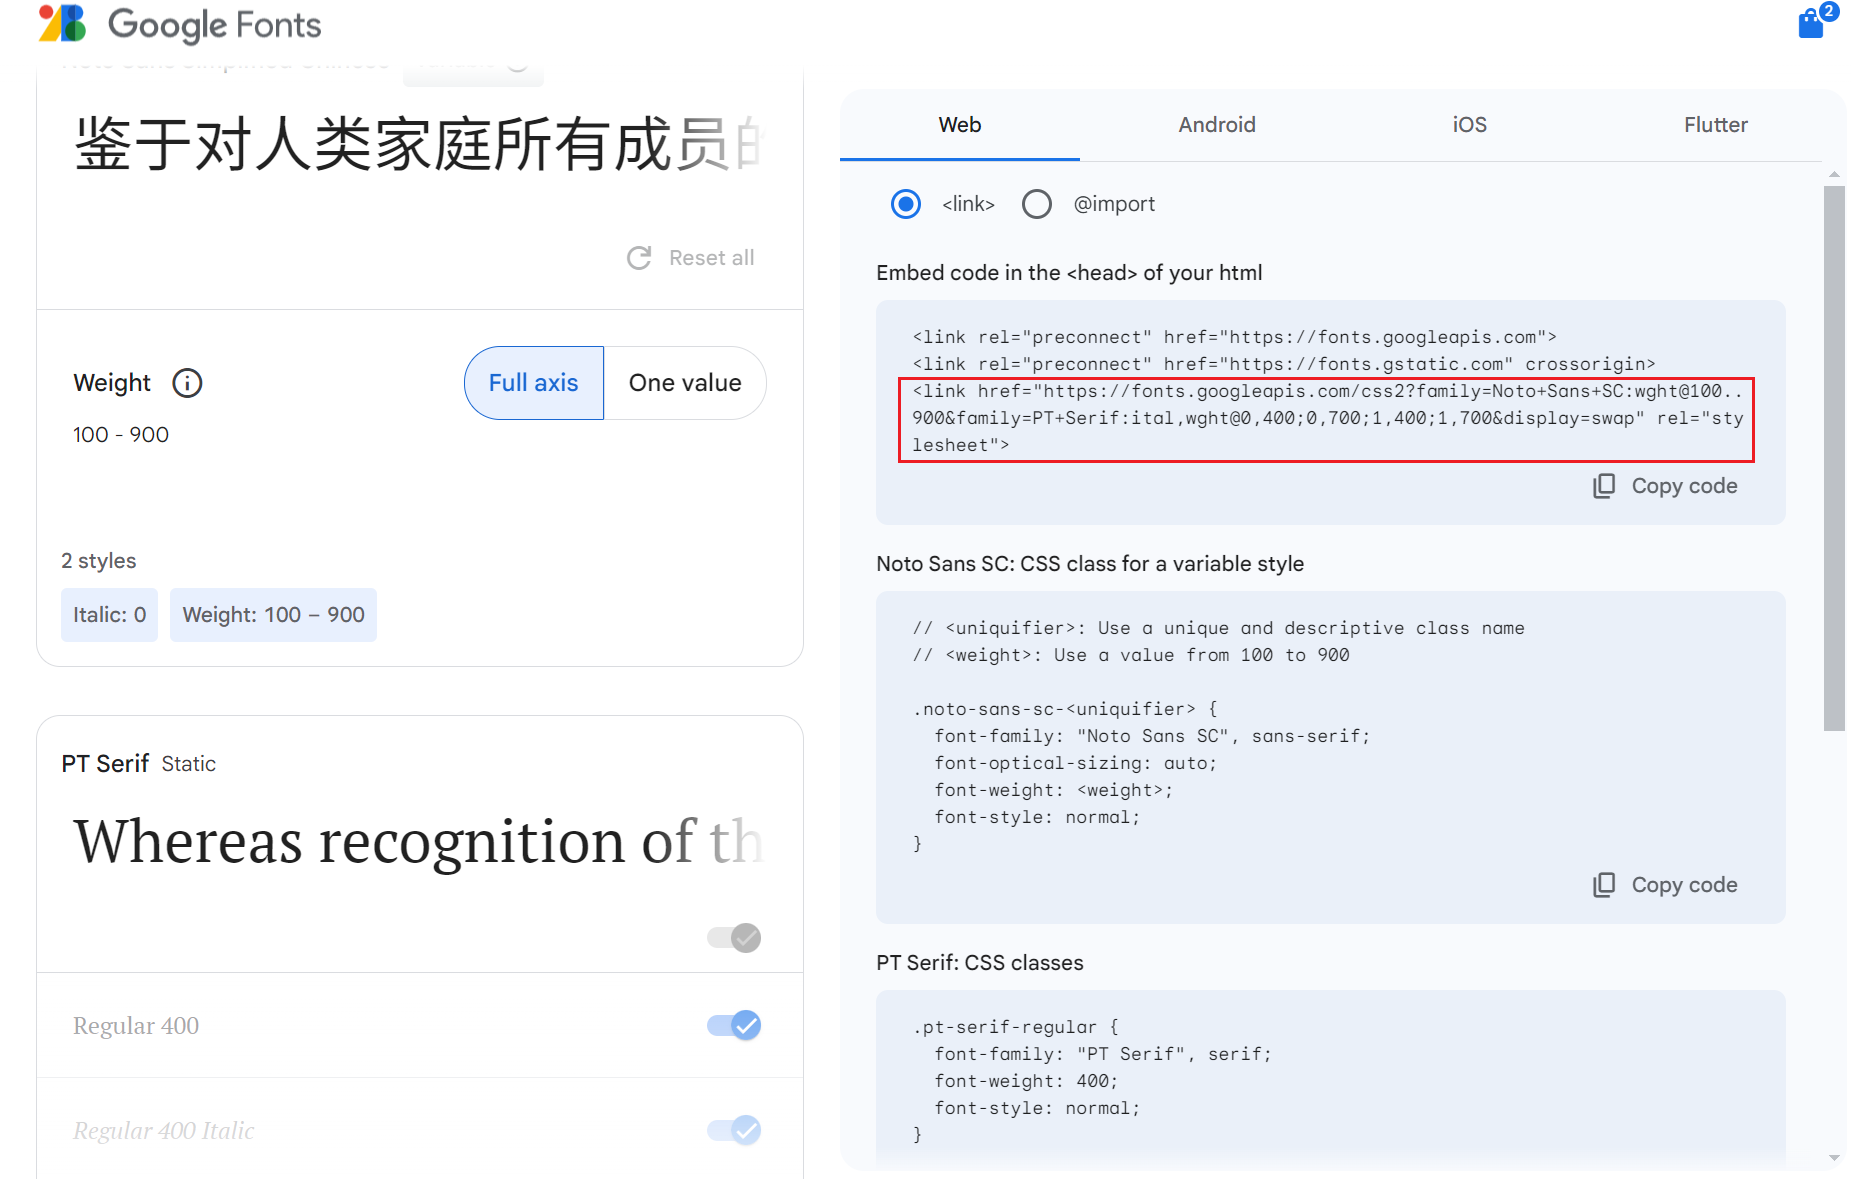
修改/icarus/layout/common/head.jsx
1
2
3
4
5
| const fontCssUrl = {
default: fontcdn('PT+Serif:wght@400;700&Noto+Sans+SC:wght@100..900', 'css2'),
cyberpunk: fontcdn('Oxanium:wght@300;400;600&family=Roboto+Mono', 'css2')
};
|
修改/icarus/include/style/base.styl
1
| $family-sans-serif ?= 'PT Serif', 'Noto Sans SC', sans-serif
|
Github Discussion1304
Reference